3D Asset Creation
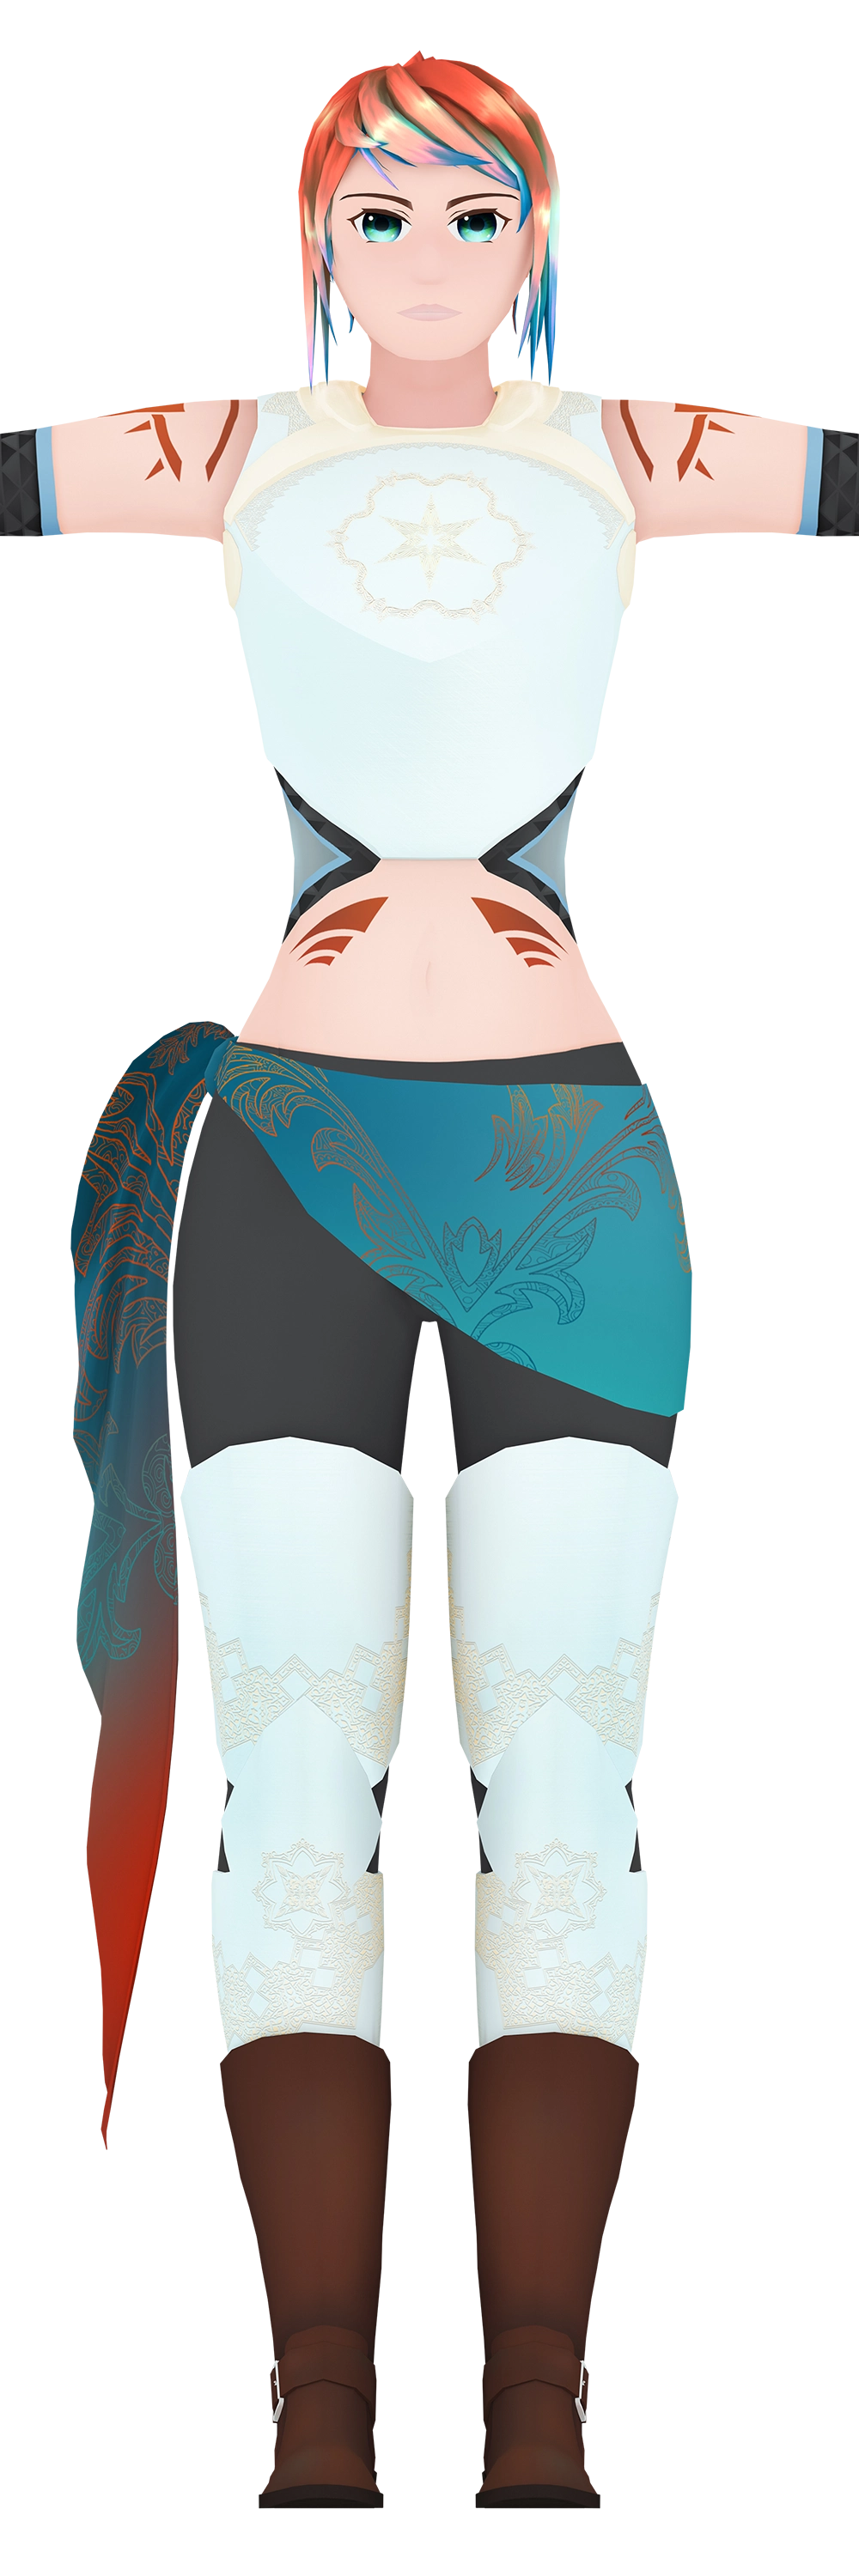
Gaining skills with 3D and 2D digital content creation toolsHumanoid Character Model Made By Myself
This model was created as part of my journey to learn 3D asset creation. I wanted to understand every step of the process, from initial design to final integration into a game engine.
Through this project, I gained valuable experience in:
- Designing
- Sculpting
- Retopologizing
- UV Mapping
- Texturing and Texture Baking
- Normal Mapping
- Rigging
- Basic Facial Animating
- Shading
- Game Engine Integration
The model is very optimized, featuring only 2 materials, 2 textures (if emission layer is enabled), 12 physics bones, and a single mesh. It has an optional emission layer for emitting highlights in dark areas, 15 blend shape visemes for speech animations, and 18 other blend shapes.
I used Blender for the entire creation process, and Photoshop and Krita for texturing. It took a long time since I was learning as I went, taking about 4 months of part-time work.

How an Asset Like This is Made

Design
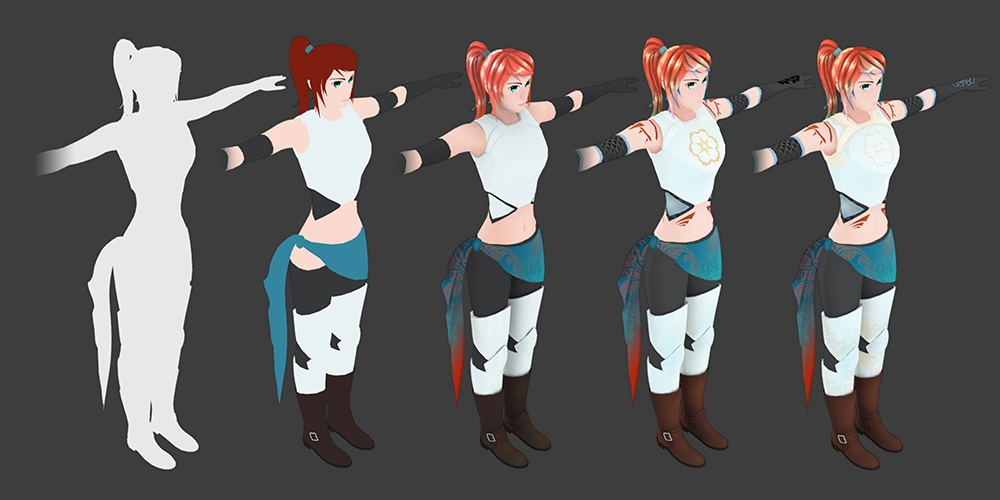
I decided to try an art style referred to as cel shading, toon shading, or 'anime' style. This can be seen in some computer rendered media series such as The Dragon Prince, Gen:Lock, and RWBY (pronounced ruby), and some video games such as The Legend of Zelda: Breath of the Wild .
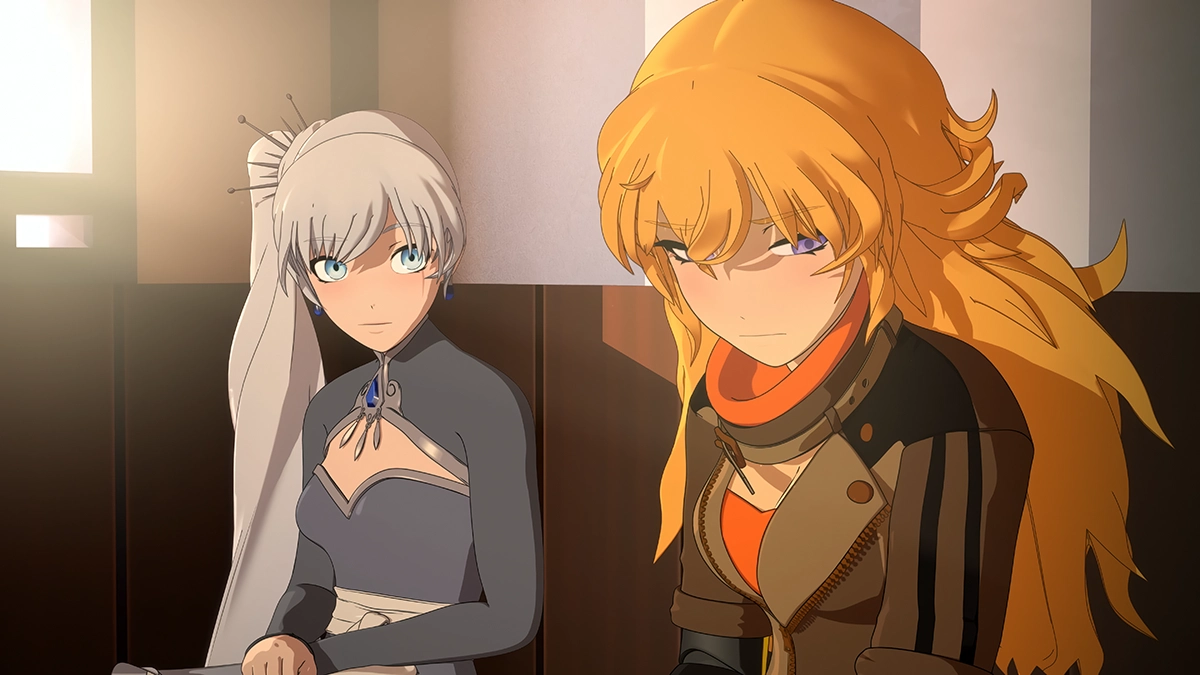
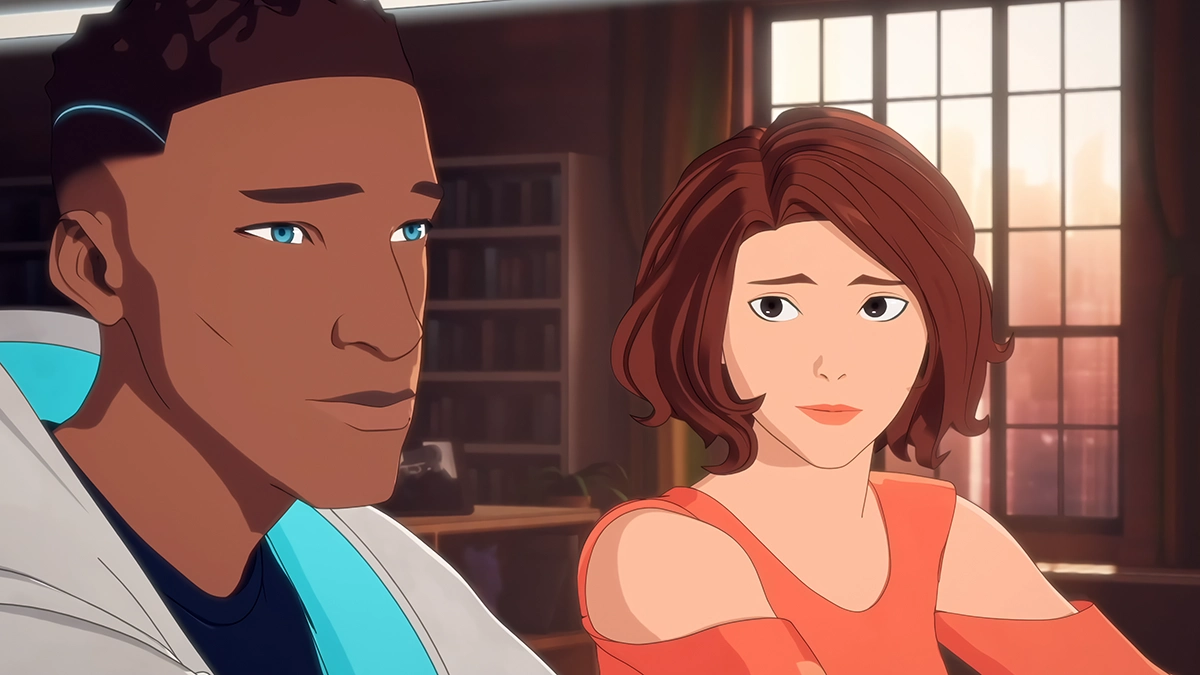

This art style is characterized by flat colors with very distinct borders between bright and dim areas on characters and other forms instead of gradual transitions. It gives 3D animation a somewhat 2D animation or anime-like feel.
While I wasn't sure if I would go so far as to do cell shaders, I did choose to follow the flatter, less photo realistic color styling with a hybrid approach.
Outlines | Guides
Proportions was something I knew I was going to run into over and over. So instead of addressing it as I go, I decided to take the time to create an outline of the general proportions I wanted so that I could use them as guides while doing the 3D sculpting.
To do this, I needed to study the proportions of the human body like all serious artists do. This led me to a great deal of study into the artistic theory of what proportions should be used where and when. I wanted it to follow the stylization of many common animation styles while also not straying too far from natural proportions. I took reference from multiple photos of real people (including myself), multiple examples from already existing characters from media, medical anatomy diagrams, and the golden ratio. In the end, I ended up with a proportion guide that I was happy with.
It took many more calculations and artistic choices than I was expecting but I'm glad I did it because I now have a guide that I can reuse on many future projects.
Sketching
Before jumping into creating the model, getting an idea of the overall conceptual design of the model is very important. This is a step I didn't do much of on my first attempts at 3D modeling and was something I wanted to spend more time on.
I especially enjoyed picking out colors and designs for the clothing since character design has always been a fascination for me in animation and video games but not something I had ever done before. I reached a point that I was satisfied and continued, knowing that I couldn't let myself get stuck on perfection.
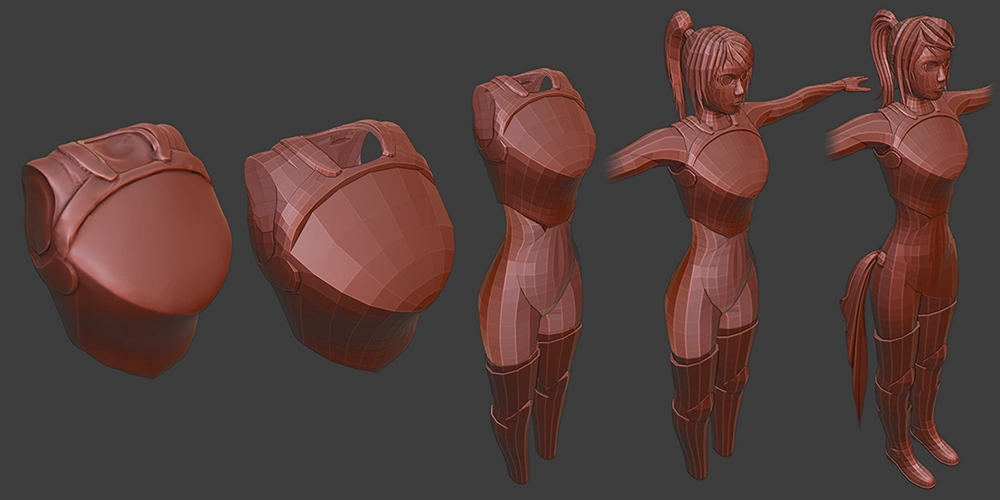
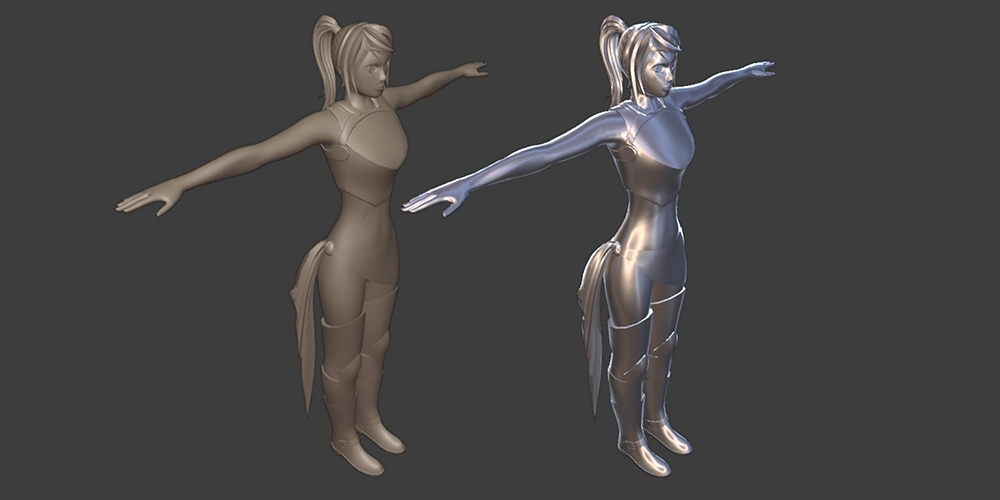
Sculpting
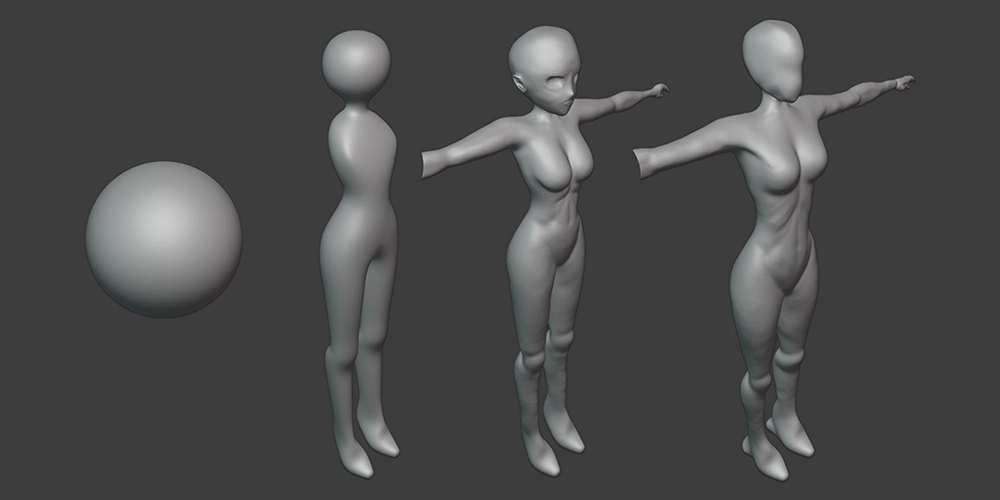
Now is the time to start creating the model. However, instead of just directly creating geometry, a common step is to use sculpting. This involves using digital tools like those used in physically molding clay where the artist can push, pull, and shape the model in a more organic way. This is done with no care for geometric complexity of the model since that will be addressed in future steps.
I started with a rough humanoid figure built using skin modifier tools within Blender. Then started with the sculpting, a skill that can take many years to master. While drawing humans does not come as easy to me as drawing geometric schematics, I started to make improvements that I felt proud of, despite being very aware of my skill limitations.
After some trial and error, I found that starting with sculpting the muscular structure using medical anatomy diagrams as reference was easier for me than trying to jump to the end result.
After a long time, I started feeling happy with the detail and proportions of the body parts I knew were not going to be covered by armor or clothing. I ignored things such as the feet since I was planning on modeling boots later.
The hands took a long time because of their complexity and proportions, but they weren't as hard as I thought since there are a lot of reference tools out there from other artists struggling with hands as much as I was. Also, hands aren't very distinct from person to person at this detail level, so I didn't have to worry too much about reinventing the wheel.
The part I knew was going to take the most work is the head and eyes since that's where most of the personality is in a character model. I struggled for a while to get something I liked but felt good enough after a while to continue to the next step.
There was definitely rough parts in the model, but I felt that I would have a better time fixing them in the Retopologizing step where I could adjust things more easily with a less complex mesh.
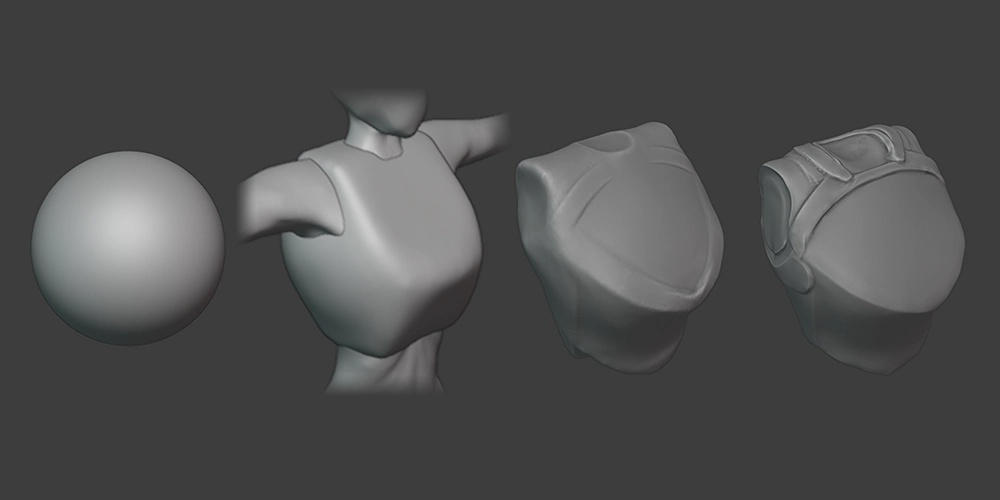
Next came modeling the clothing parts such as armor and boots. This felt easier for me than the body parts since I have more experience drawing non-organic shapes than organic ones. I modeled chest armor, leg armor, boots, and a cloth sash that hangs down from the waist. I used a cloth simulation to help with the sash. I wanted to model gauntlets and bracers, but I figured I shouldn't push myself too much and could do that in a second version of the model. I'm glad I did this because the model took much longer to make than I was expecting already.
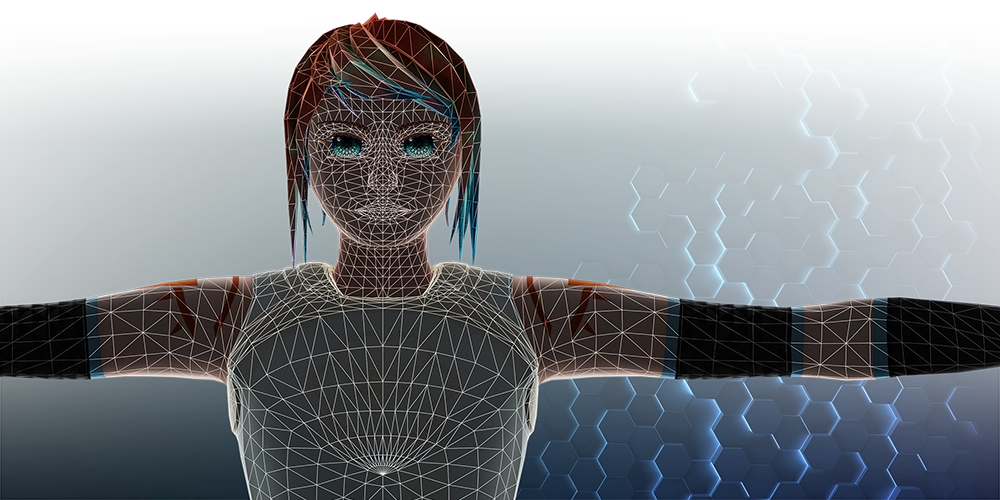
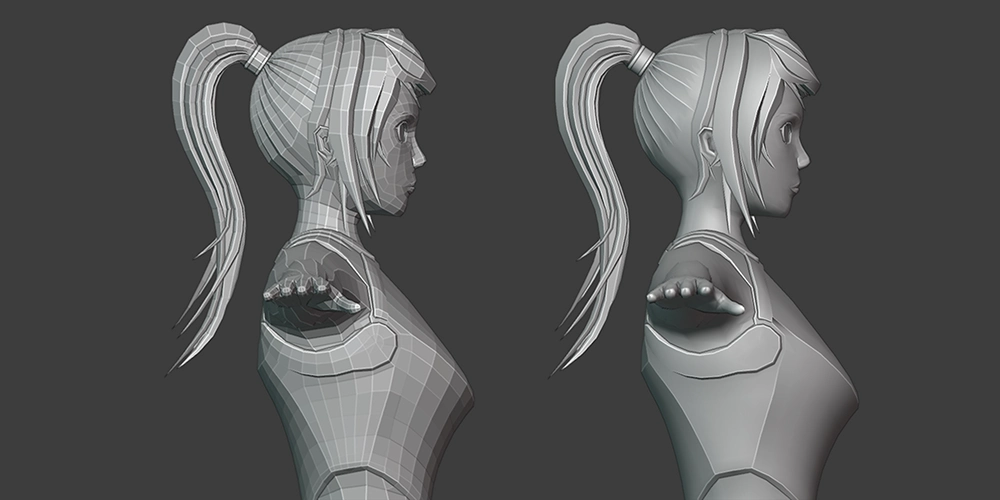
Retopologizing
The sculpting step is very good for allowing free-form creativity but also creates overly complicated geometry in the model's mesh. Retopologizing is the step of going back over the sculpted model and hand making a simpler model using the original as a reference. This isn't super hard since there are tools that allow you to 'stick' the new model vertices to the surface of another mesh, allowing you to make a simpler model like papier-mâché, but is quite time consuming.
I think I enjoyed this step the most out of all of them, because it was quite brainless and fun to puzzle-out how to connect the mesh elements together in ways that don't lead to bad geometry. In essence, it's like a giant connect the dot puzzle.
Since I was expecting to import this model into a game engine, I kept the mesh at this simplified state instead of adding a subdivision modifier to the mesh which would be what would happen for animations. I would like to go back and make an animation with this model at some point in the future though.
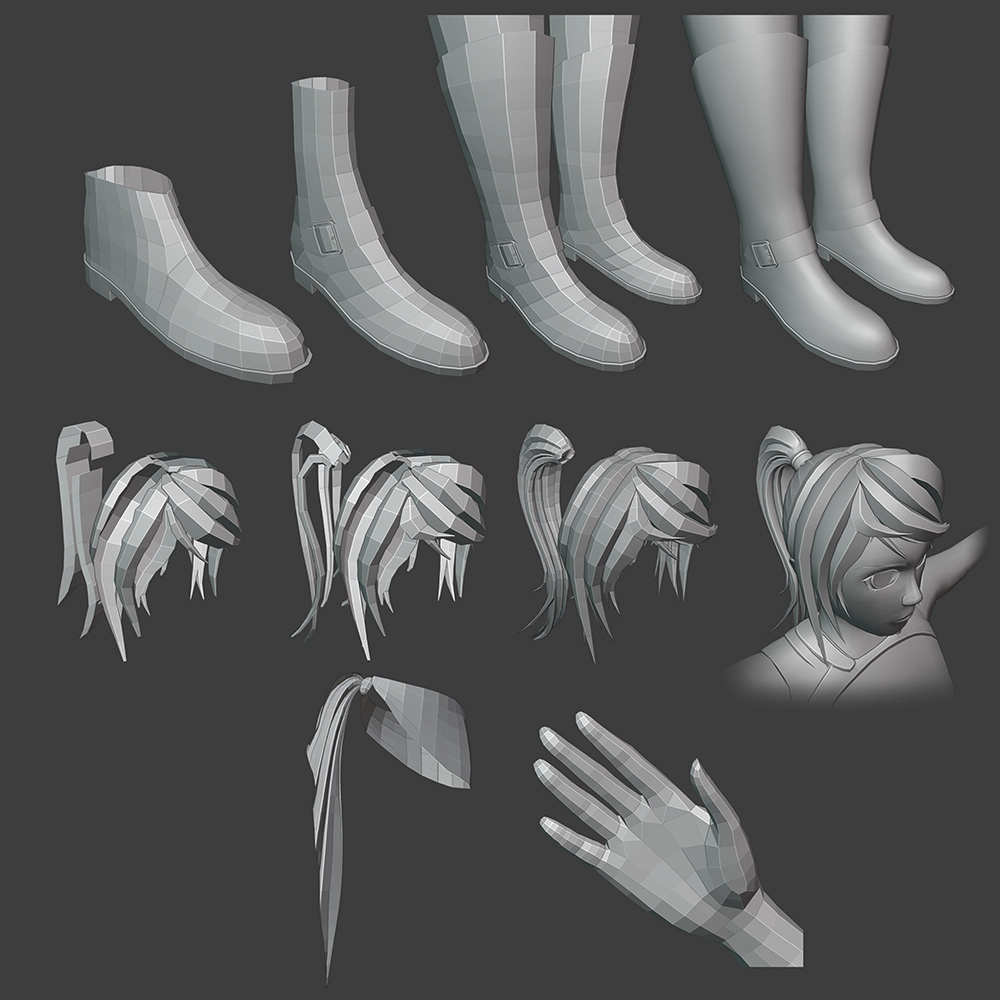
I modeled every part of the model including the boots, leg armor, thigh armor, cloth sash around the waist, hands, chestplate, hair, face, etc.
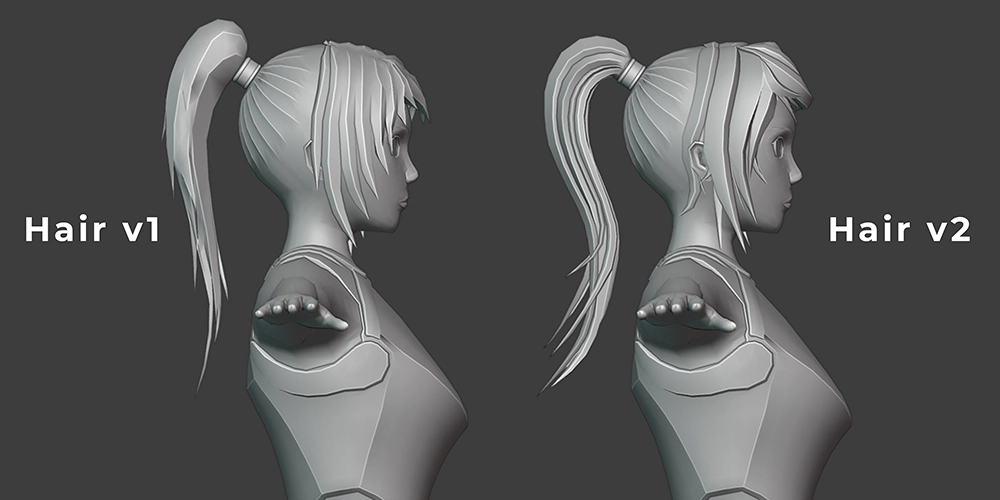
After a while, I realized I wasn't happy with how the hair turned out, so I went back and spent time remodeling the hair into something I was happy with.
Normals
Now I have a geometrically simple model, but there is another step that can be done to make it look even better. Model geometry such as this has something called normals, which are essentially vectors that are related to various datapoints in the mesh. What this means is that a surface on the mesh can have some data referring to where it is facing, and with that, can change whether a surface or edge looks sharp or smooth without any extra geometry being needed.
This mainly just required me to go through and mark every edge that needs to be 'sharp' and then use an automatic tool to do all the rest. The final result is a much smoother looking model without losing sharp details.
UV Mapping
Next is a step that is needed to add textures to the mesh. Textures are just images that add data to the mesh such as color, but the problem is that textures are 2D while the model is 3D. To solve this, a UV map is made to reference all the 3D geometry to a 2D plane. This is like inverted origami, where instead of making a 3D thing with paper, we are trying to turn a 3D thing back into flat paper.
This is something that is mainly done with automatic tools but still requires a lot of forethought by the artist to be done efficiently. The art of it is trying to fit all the pieces of the model like a puzzle on the texture to minimize as much wasted space as possible. Less waste means a smaller texture is required and so less data is needed for the model.
I had fun with this step, trying to figure out what parts I wanted to give more detail to than others (If you make one piece larger than another on the map, then you dedicate more detail to it). I'm happy with how well I fit the pieces together but am not as happy with how much detail I gave some part versus others. For instance, I made the hands larger than they needed to be since I have no plans to put a lot of detail into them.
Texturing and Texture Baking
Finally, the texturing step is the part where color and detail are added to the model.
I mainly did this with Photoshop and Krita, hand drawing details with an external drawing tablet.
This is something I have the least experience with and enjoyed practicing.
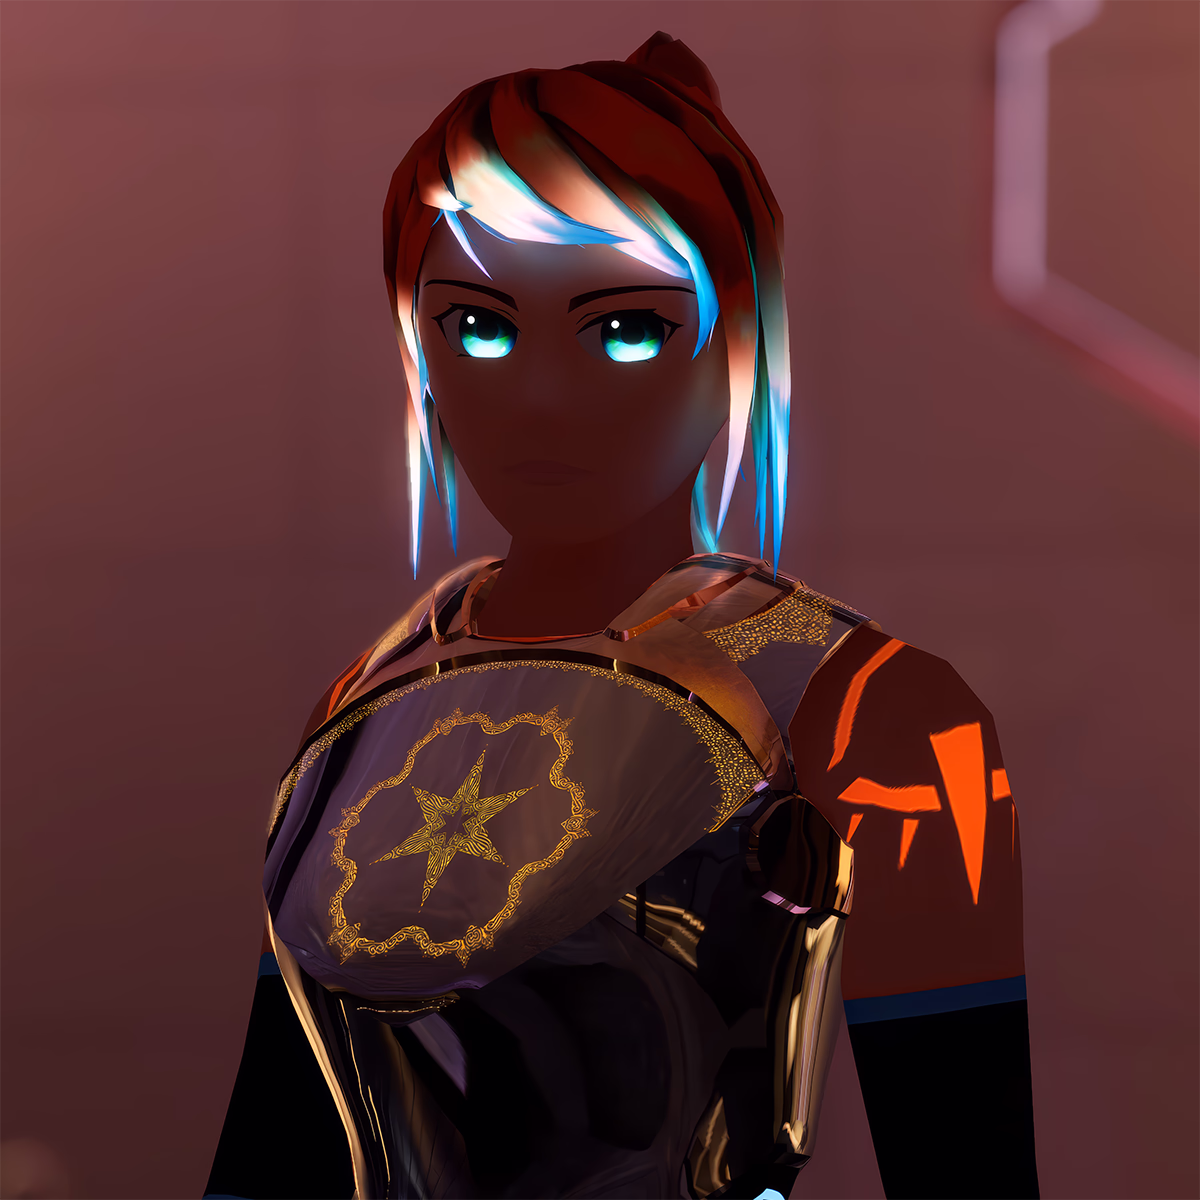
The real fun stuff for me though came with baking. Baking is when you have software calculate complicated things such as lighting and reflections and then save the ways that lighting interacts with your model as a texture. That way, those complicated calculations don't have to be made again in the future and your texture looks a lot more dynamic.

I rendered some simple ambient lighting around my model causing light shadows to fall onto it and reflect parts around it such as skin color and the shiny armor. Then I baked those as separate textures and played around with them in Photoshop, deciding how I wanted each one to affect the main texture. In the end, I ended up with much more beautiful coloring, especially in parts such as the sash and parts under the hair.
I love lighting so this step was quite enjoyable for me.
Rigging
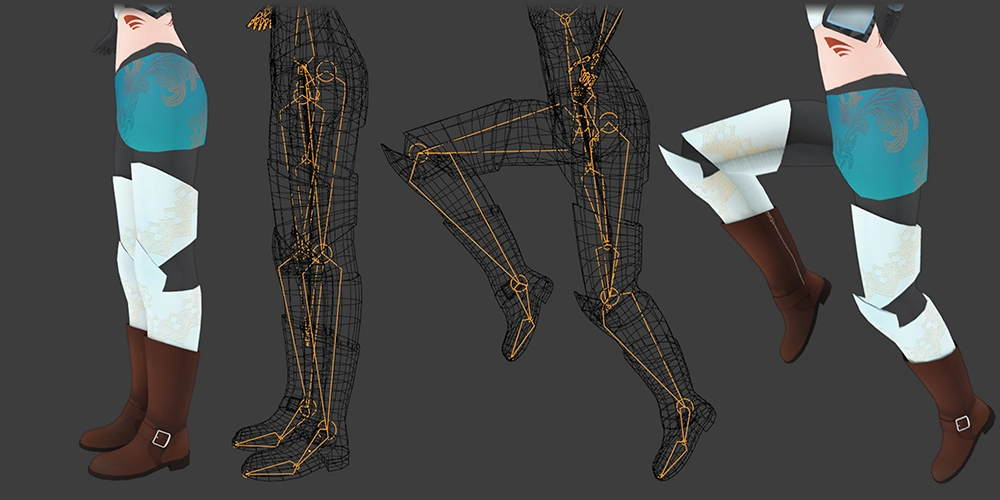
This is one step that I thought would be simpler than it turned out to be. Rigging is essentially taking simple shapes referred to as "bones" and assigning parts of your model to those shapes so that when that part is told to move, the correct parts of the model move with it. For instance, when I tell the head to turn to the side, I want the eyes, ears, and everything else to move with it, but not the shoulders or other parts of the model.
What I didn't understand though is that this must be done like a paintbrush, essentially 'painting' the influence those bones have to the mesh around them. And since some parts of a mixture of multiple bones, things can get complicated. For instance, joints such as the knee are influenced by two bones, yet you have to be careful not to assign too much of one over the other or the knee bending won't look natural. Also, I quickly realized that different materials need to have different degrees of contrast between the bones as well, with looser things like cloth and hair needing gradual transitions, and stiffer things like arms and legs needing more sudden transitions to look realistic.
This process took much longer than I thought it would to make it look good, and I noticed many ways I could have made the model differently in the previous steps to make this step easier.
Facial Animations | Shaped Keys | Visemes
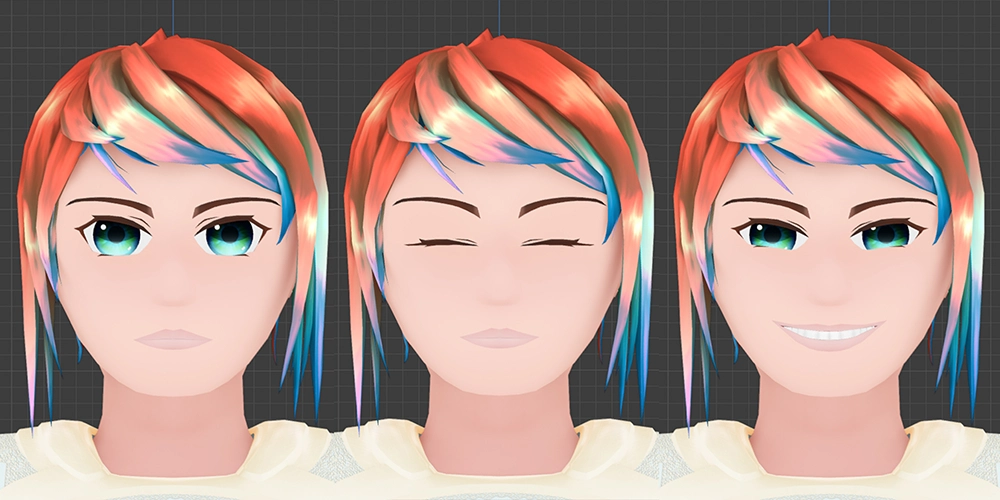
One of the final steps is adding animations. There are many ways to do this. I went with making things called "shape keys" since I was planning to put this model into a game engine. Shape keys are essentially a simple transition between two positions. So, for instance, I could shape the face into a smile or close the eyes and save those as shape keys. Then I can go back and create a blink animation by trigging the eyes to close. What's cool is that they can be mixed, so I can combine as many shapes keys as I want into a new singular shape key.
The main reason I did this was to create things called visemes. These are essentially the various shapes the human mouth makes while speaking such as oo, ah, eh, etc. Using these, a realistic speaking animation can be generated with the visemes in relation to any dialog. I did this because I was planning on trying out my model is a piece of software called VRChat, which is a virtual reality program that can have models, such as this, mimic the motions of someone as they speak using those visemes.
Shaders
Finally, the shaders are some of my favorite things to work with because they take textures a step further and tell the model how light should interact with the meshes. For instance, how reflective metal should be, or how light absorbent skin should be, or how shiny hair should be.
Unfortunately, I was planning on putting this model into a game engine which will likely use its own shaders so I couldn't do much on this step in Blender. I wanted this time to go into learning model creation, and less on learning the game engine itself, so I didn't spend much time on shaders.
Emission Highlights
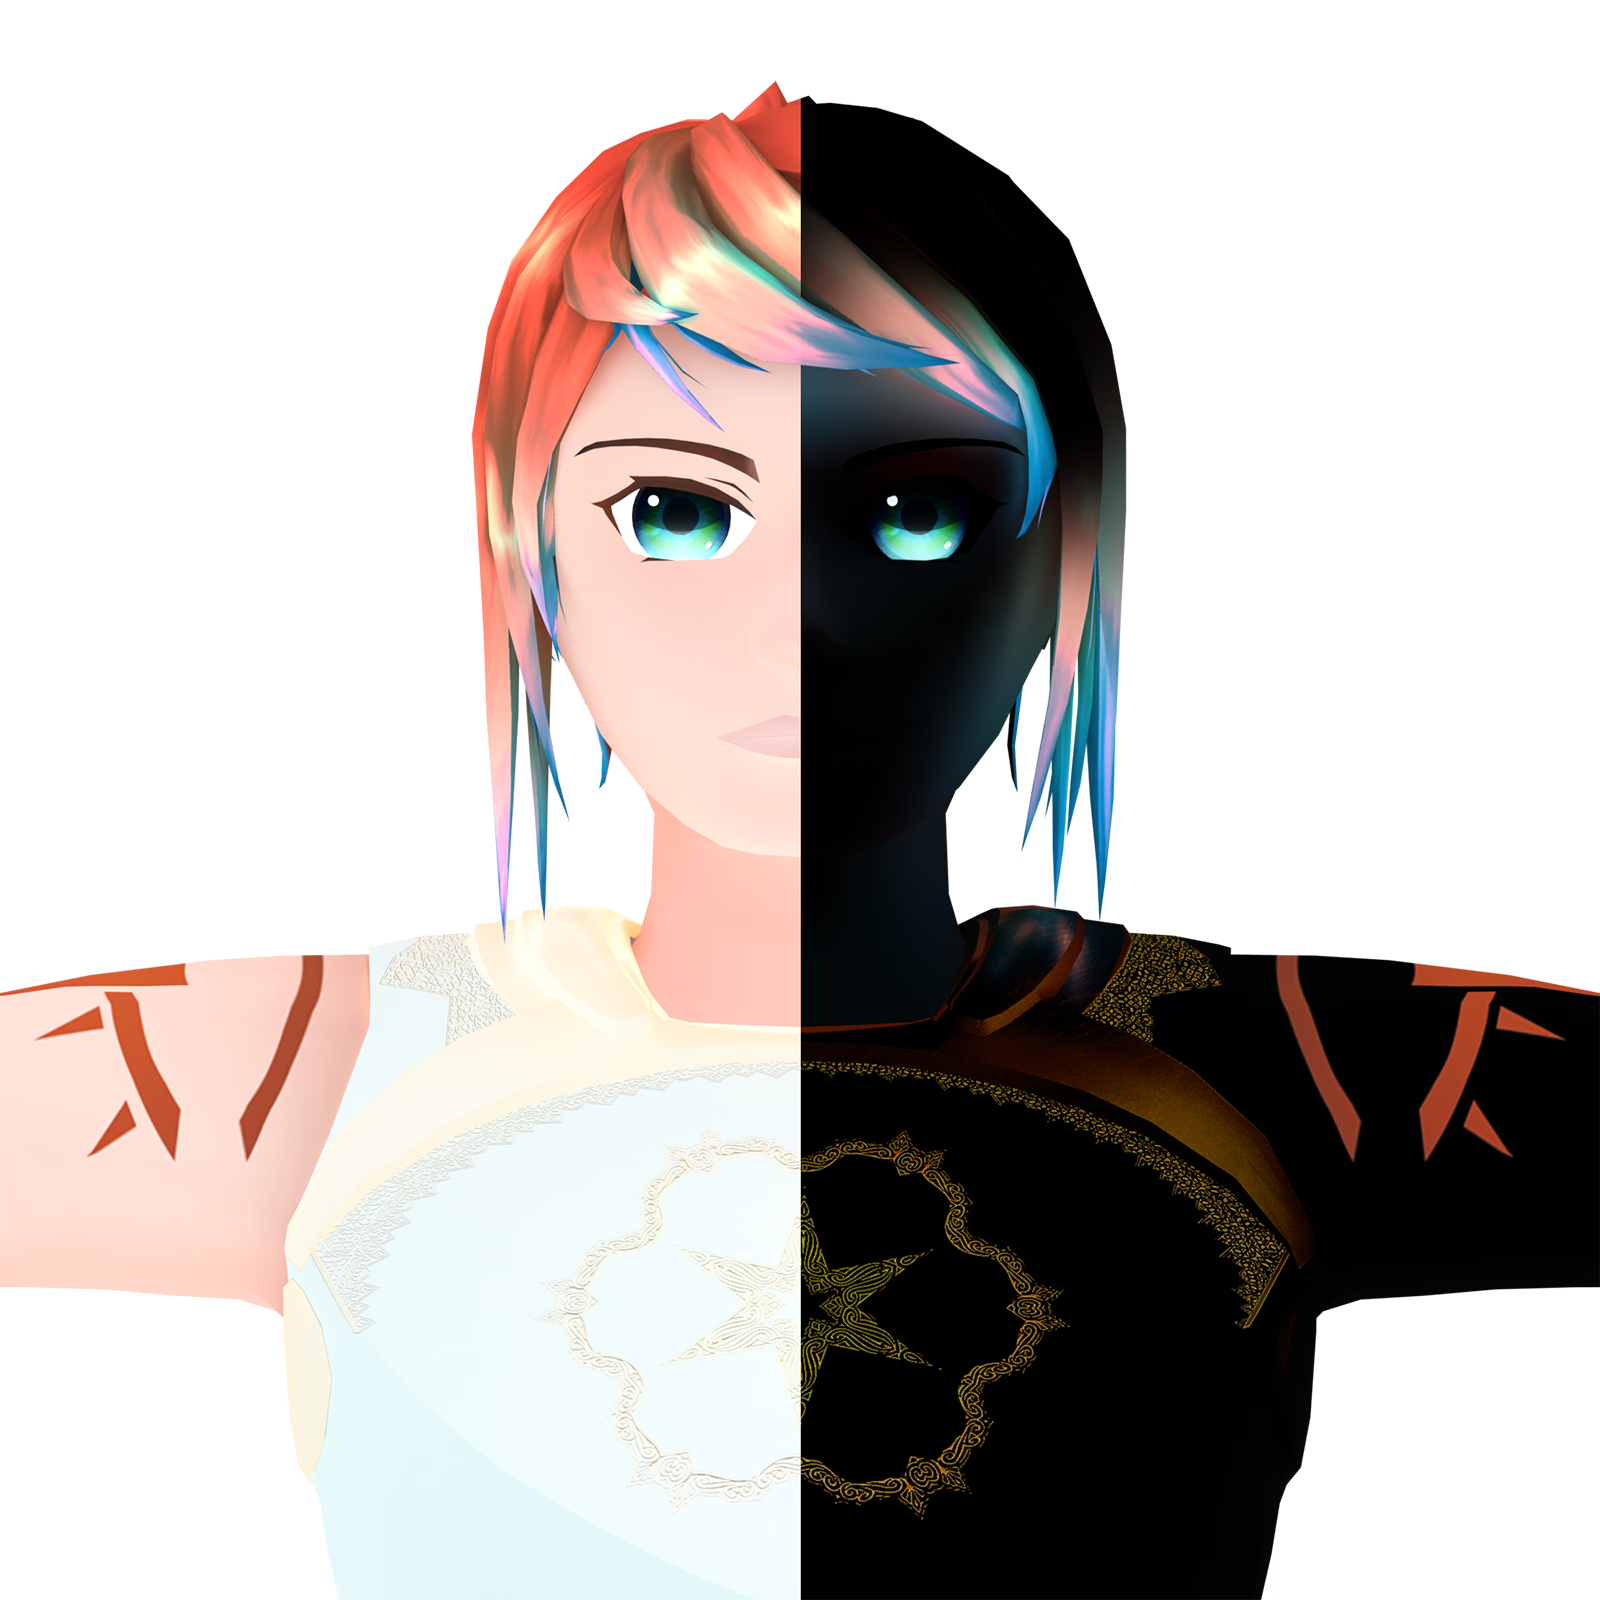
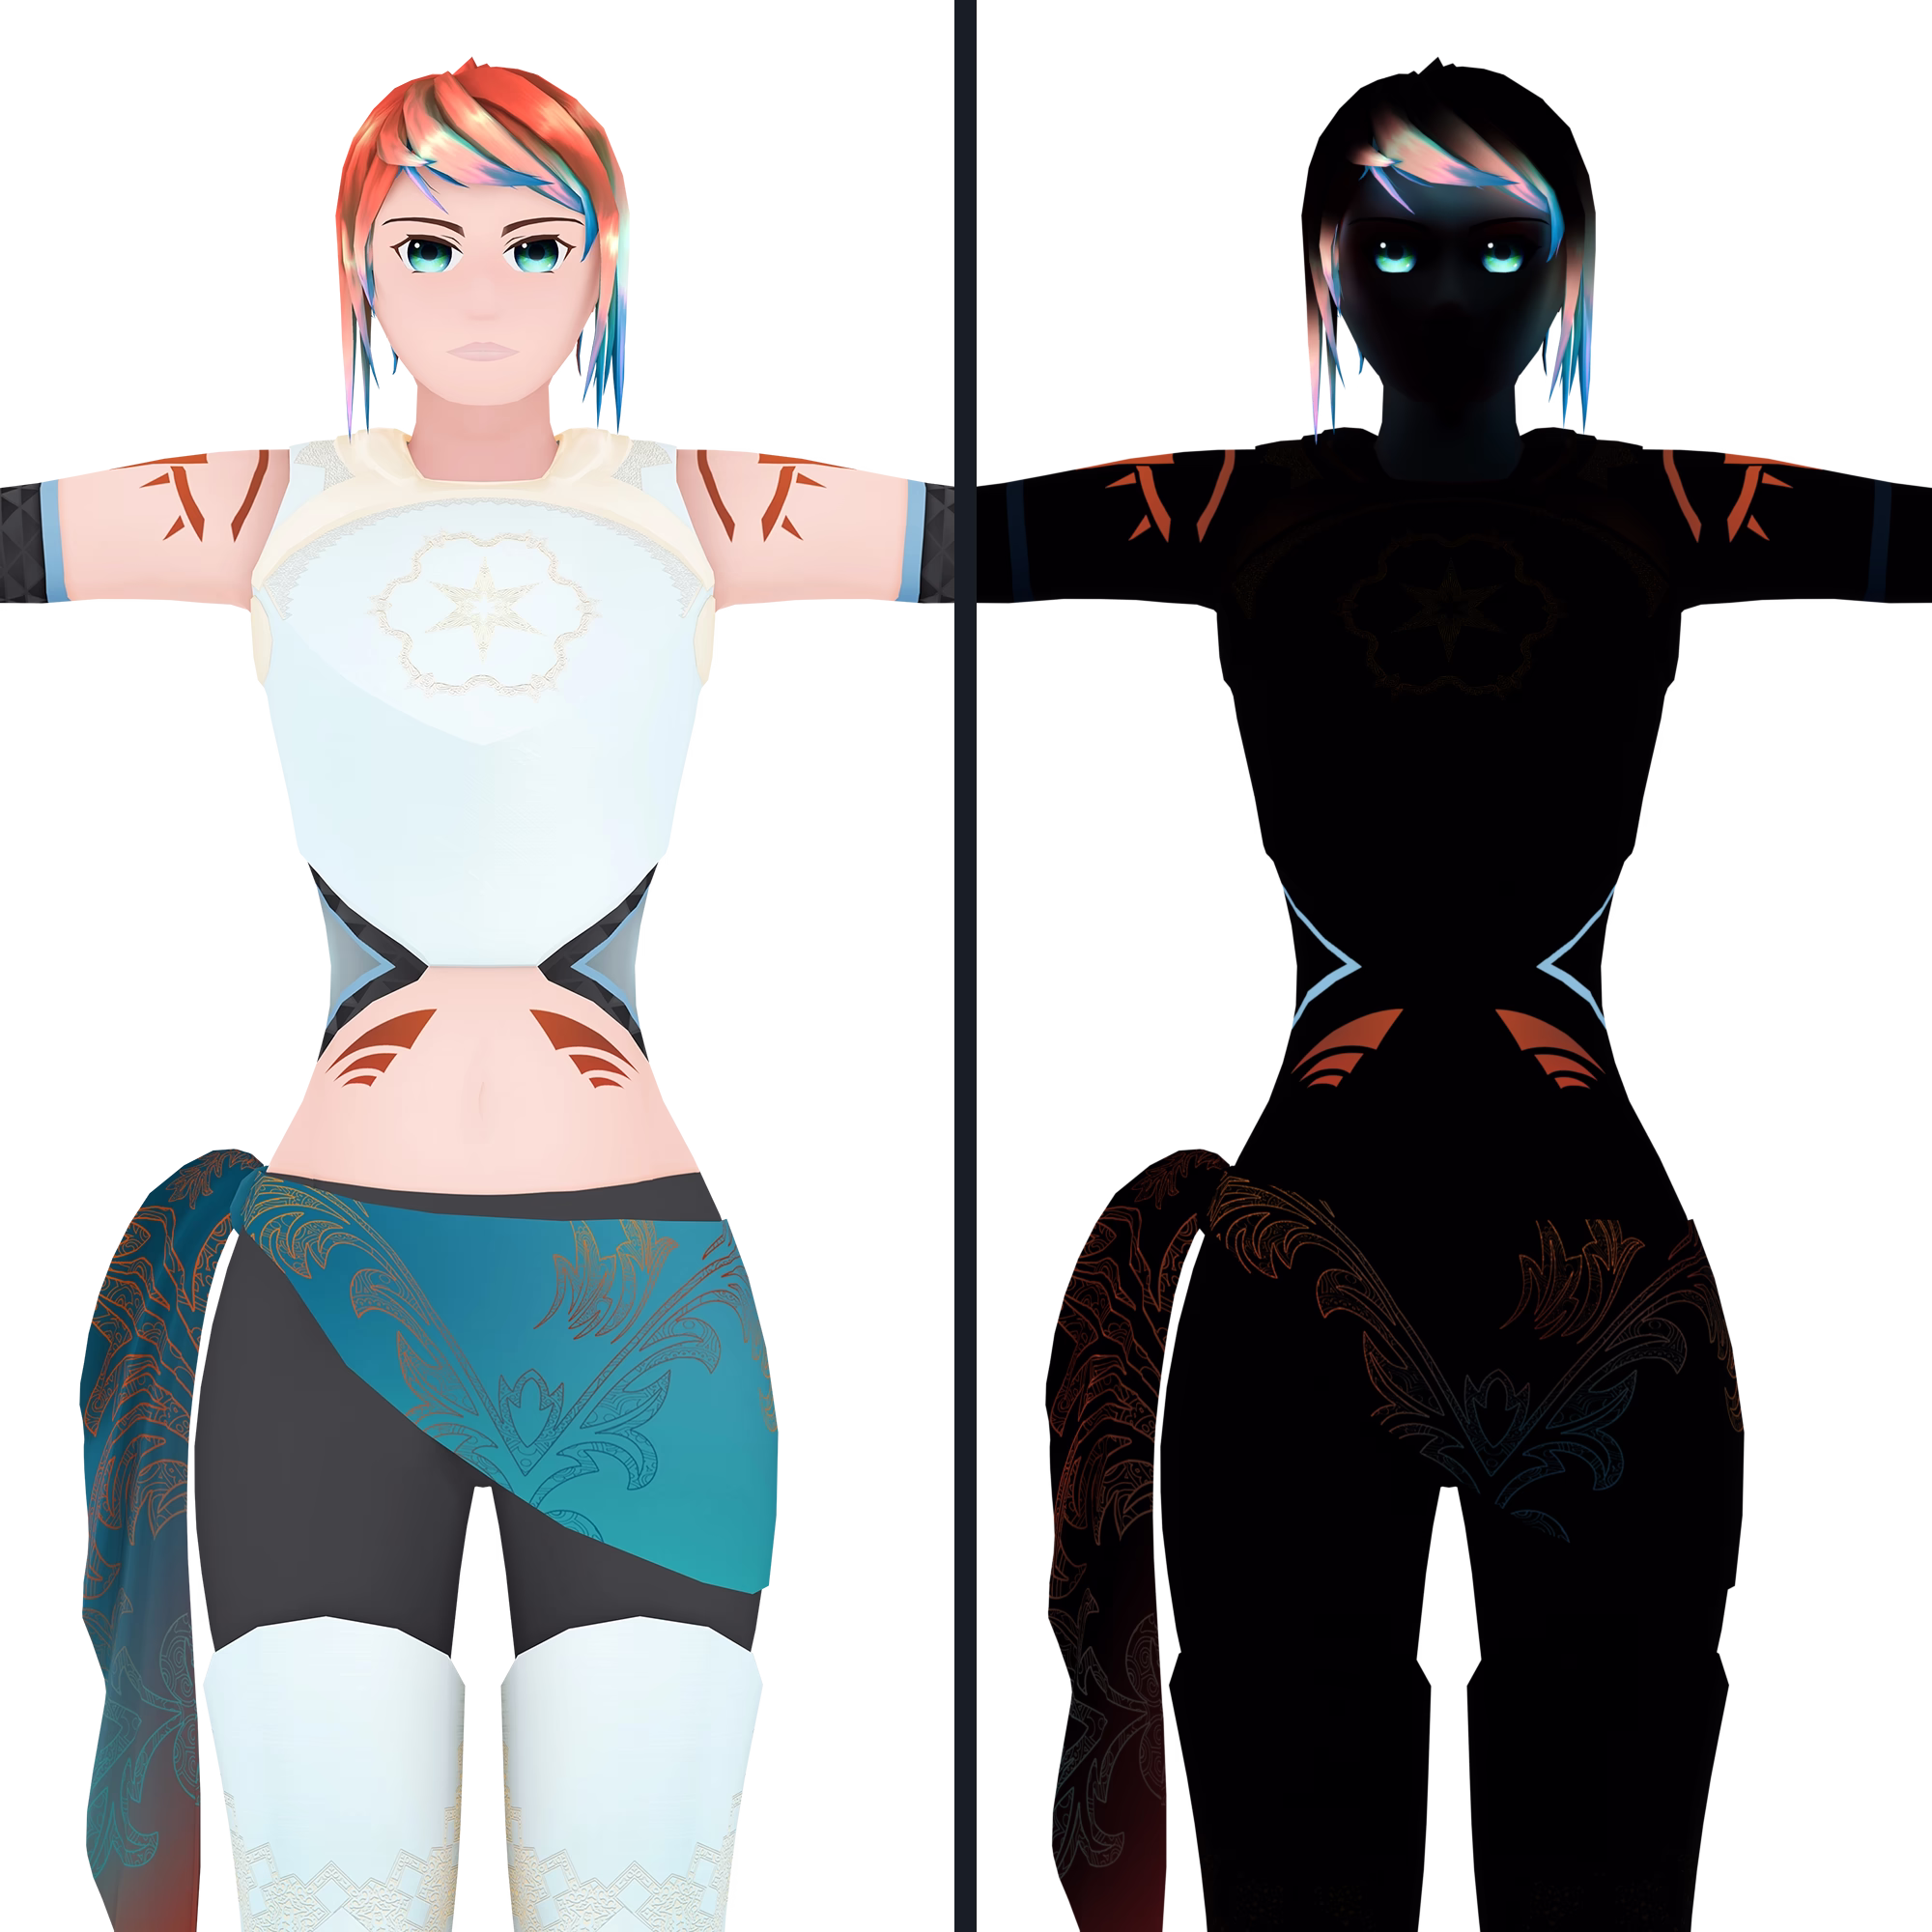
Later, I added one more fun feature. I wanted glowing elements on the model to make it stand out in dark places. I achieved this by using emission shaders with an extra texture layer that defines the areas that should glow. This was mainly the eyes, hair ends, and details in the clothing/armor.
This was accomplished with another round of baking, where light cascades were simulated in a dark environment with only the glowing parts emitting light. This creates some great glow effects in places such as under the hair.
Final
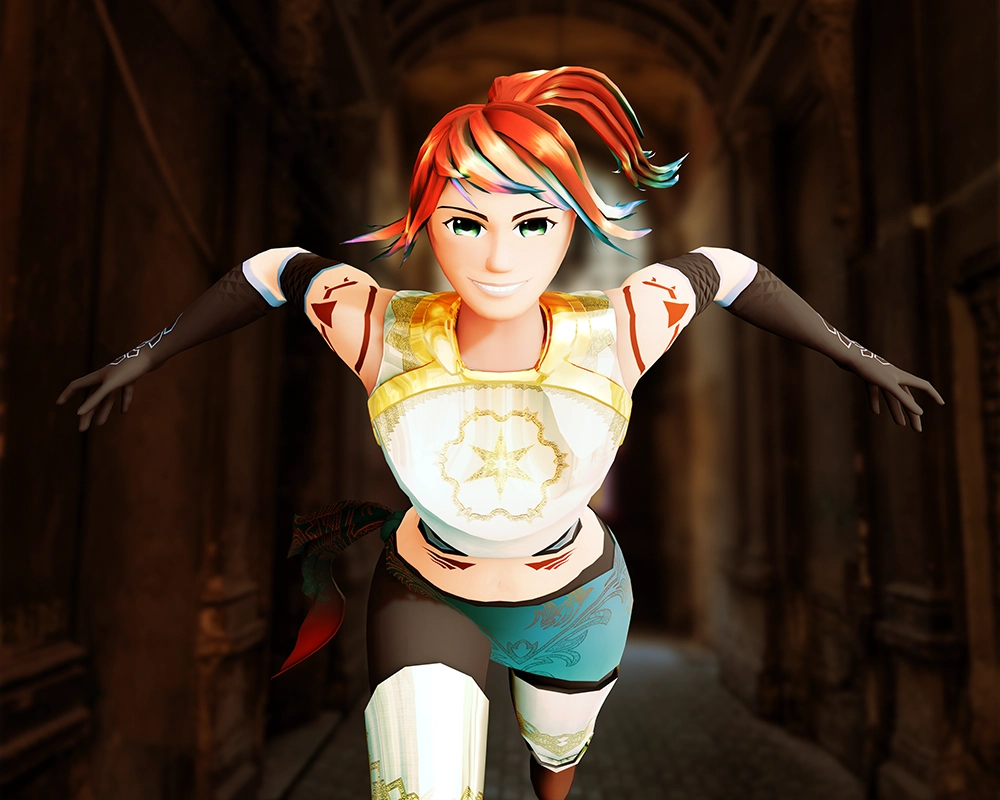
Overall, I am very happy with how the model turned out, especially since it's only my second attempt at making one from start to finish. There are many flaws and things I wish to improve on, as always, but I'm proud that I can set it aside and say, “Good enough for now.”